

Introduction
In the world of digital design and embroidery, file formats play a crucial role in ensuring the quality and compatibility of your work. One common challenge faced by designers is converting image files, such as PNG, into embroidery-specific formats like DST. If you’ve ever wondered how to convert PNG to DST, you’re in the right place. This comprehensive guide will walk you through the process step by step, making it easy for beginners and professionals alike.
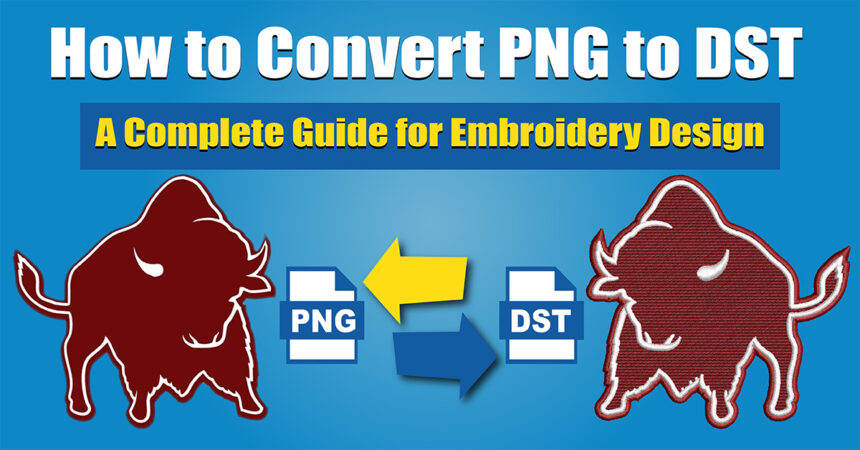
What is a DST File?
Before diving into the conversion process, it’s important to understand what a DST file is. DST (Data Stitch Tajima) is a file format used in computerised embroidery machines. It contains stitch data, including the sequence, colour, and type of stitches required to create a design. Unlike image formats like PNG, which store visual data, DST files are specifically designed for embroidery machines to read and execute.
Why Convert PNG to DST?
PNG (Portable Network Graphics) is a popular image format known for its high quality and transparency support. However, embroidery machines cannot directly read PNG files. To use a PNG image for embroidery, it must be converted into a compatible format like DST. Here are some reasons why you might need to convert PNG to DST:
- Embroidery Machine Compatibility: DST is the standard format for most embroidery machines.
- Preserving Design Details: Converting ensures that the design’s intricate details are translated into stitches.
- Custom Embroidery Projects: Whether you’re creating logos, monograms, or artwork, converting PNG to DST allows you to bring your designs to life on fabric.
Tools and Software for Converting PNG to DST
To convert PNG to DST, you’ll need specialised software that can translate image data into stitch data. Here are some popular tools:
- Wilcom EmbroideryStudio: A professional-grade software for embroidery design and conversion.
- SewArt: A user-friendly program for converting images into embroidery formats.
- InkStitch: A free, open-source extension for Inkscape that supports DST conversion.
- Hatch Embroidery: A comprehensive software suite for embroidery design and editing.
Step-by-Step Guide to Convert PNG to DST
Now that you have a basic understanding of the tools and formats let’s dive into the step-by-step process of converting PNG to DST.
Step 1: Choose the Right Software
Select a software program that suits your needs and skill level. For beginners, SewArt or InkStitch are great options, while professionals may prefer Wilcom or Hatch Embroidery.
Step 2: Import the PNG File
Open your chosen software and import the PNG file you want to convert. Most programs allow you to drag and drop the file or use the “Import” option in the menu.
Step 3: Adjust the Image Settings
Before converting, you may need to adjust the image settings to ensure the best results. This includes:
- Resizing the Image: Ensure the design fits the desired embroidery area.
- Simplifying the Design: Remove unnecessary details that may not translate well into stitches.
- Setting the Stitch Density: Adjust the number of stitches per inch to balance detail and fabric compatibility.
Step 4: Trace the Image
Most embroidery software includes an auto-trace feature that converts the image into stitch data. If the software doesn’t have this feature, you may need to manually trace the design using the available tools.
Step 5: Edit the Design
After tracing, review the design and make any necessary edits. This includes:
- Assigning Thread Colors: Choose colours that match your design and thread availability.
- Adjusting Stitch Types: Select the appropriate stitch types (e.g., satin, fill, or running stitches) for different parts of the design.
- Checking for Errors: Look for gaps, overlaps, or other issues that could affect the final embroidery.
Step 6: Save the File as DST
Once you’re satisfied with the design, save it in the DST format. Go to the “File” menu, select “Save As,” and choose DST as the file format. Make sure to name the file and choose a location where you can easily find it.
Step 7: Test the Design
Before using the DST file for your embroidery project, it’s a good idea to test it. Load the file into your embroidery machine and stitch it on a scrap piece of fabric to ensure the design looks as expected.
Tips for Successful PNG to DST Conversion
- Start with High-Quality Images: The better the quality of the PNG file, the easier it will be to convert into a clean and detailed DST design.
- Simplify Complex Designs: Intricate designs with too many details may not translate well into stitches. Simplify the design for better results.
- Use the Right Software: Choose software that matches your skill level and project requirements.
- Practice and Experiment: Converting images to embroidery designs can take time to master. Don’t be afraid to experiment and learn from your mistakes.
Common Challenges and How to Overcome Them
1. Loss of Detail
Sometimes, fine details in a PNG file may not translate well into stitches. To overcome this, simplify the design or use manual tracing to preserve important elements.
2. Color Mismatch
Embroidery threads may not perfectly match the colours in your PNG file. Use a colour chart to select the closest available thread colours.
3. File Compatibility Issues
Ensure that the DST file is compatible with your embroidery machine. Some machines may require additional adjustments or file formats.
Conclusion
Converting PNG to DST may seem daunting at first, but with the right tools and techniques, it becomes a straightforward process. Whether you’re a hobbyist or a professional, this guide provides all the information you need to convert PNG to DST seamlessly. By following the steps outlined above, you can transform your digital designs into beautiful embroidered creations.
Remember, practice makes perfect. Don’t be discouraged if your first few attempts don’t turn out as expected. With time and experience, you’ll master the art of converting images into embroidery-ready designs.
FAQs
1. What is the difference between PNG and DST files?
PNG is an image format that stores visual data, while DST is an embroidery format that contains stitch data for embroidery machines.
2. Can I convert PNG to DST for free?
Yes, you can use free tools like InkStitch or trial versions of paid software to convert PNG to DST.
3. Why is my DST file not working on my embroidery machine?
This could be due to compatibility issues or errors in the design. Ensure the DST file is saved correctly and meets your machine’s requirements.
4. How can I improve the quality of my DST design?
Start with a high-quality PNG file, simplify the design, and use appropriate stitch types and densities.
5. What software is best for beginners to convert PNG to DST?
SewArt and InkStitch are great options for beginners due to their user-friendly interfaces and affordability.
Explore more: hadokin